
To generate a personal access token in GitHub, follow these steps:
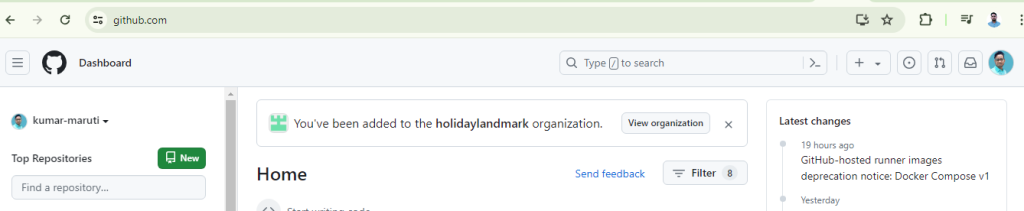
Step1: Sign in to GitHub: Go to github.com and sign in to your GitHub account.
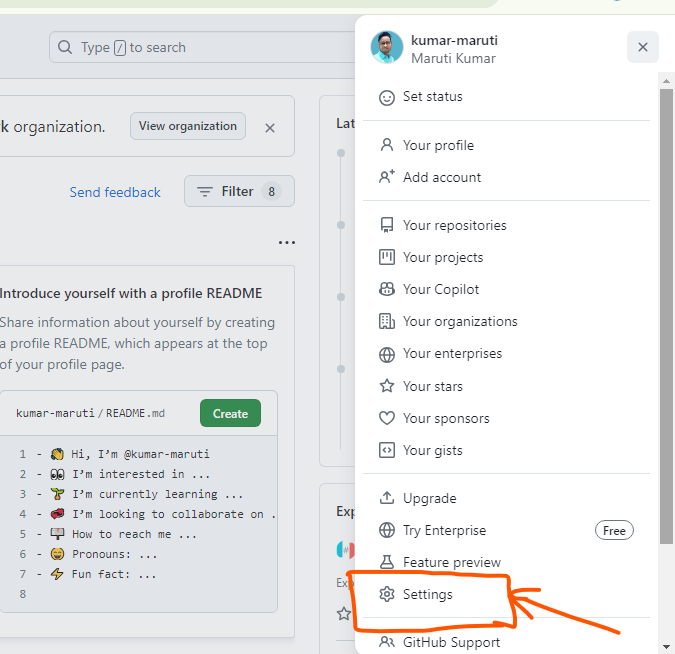
Step2: Access Settings: Click on your profile picture in the top-right corner of the page, then click on “Settings” from the dropdown menu.
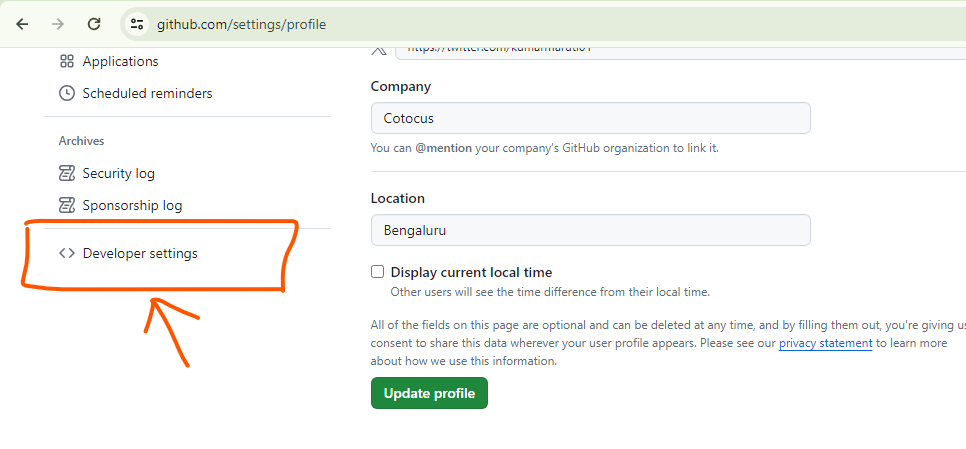
Step3: Select Developer settings: In the left sidebar, click on “Developer settings”.
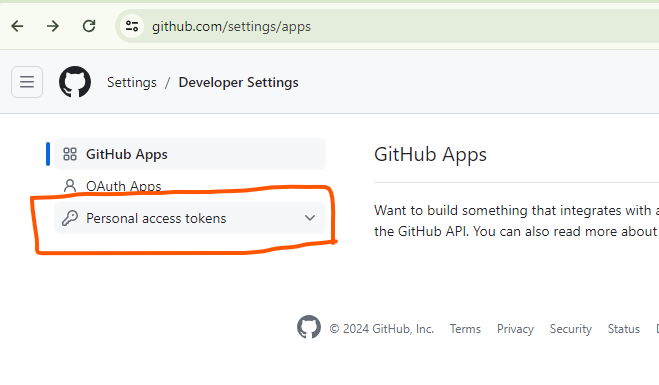
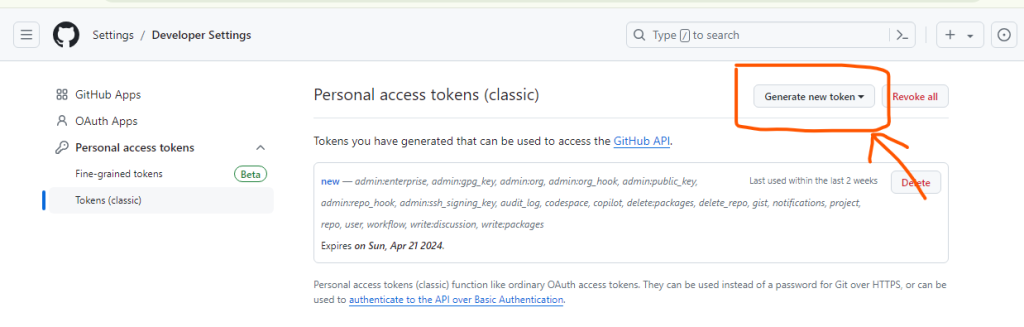
Step4: Choose Personal access tokens: In the Developer settings menu, click on “Personal access tokens”.
Step5: Generate a new token: Click on the “Generate new token” button. You may be prompted to enter your password for verification.
Step6: Configure your token: Give your token a descriptive name that will help you remember its purpose. Then, select the desired scopes for the token. Scopes define what actions the token can perform, such as accessing repositories, creating gists, or managing notifications.
Step7: Generate the token: Once you’ve configured the token, click on the “Generate token” button at the bottom of the page.
Step8: Copy your token: GitHub will generate a personal access token for you. Make sure to copy this token immediately as it will not be displayed again.
Step9: Store your token securely: Treat your token like a password and keep it secure. Do not share it publicly or commit it to version control repositories.
That’s it! You’ve successfully generated a personal access token in GitHub. You can now use this token to authenticate your requests when accessing GitHub APIs or performing actions programmatically.