Composer is a dependency manager for PHP applications. It allows you to install, update, and manage third-party libraries for your Laravel project. Laravel uses Composer to manage its own dependencies, as well as the dependencies of any packages you install.
To install Composer on Windows, you can follow these steps:
- Go to https://getcomposer.org/download/ in your web browser.
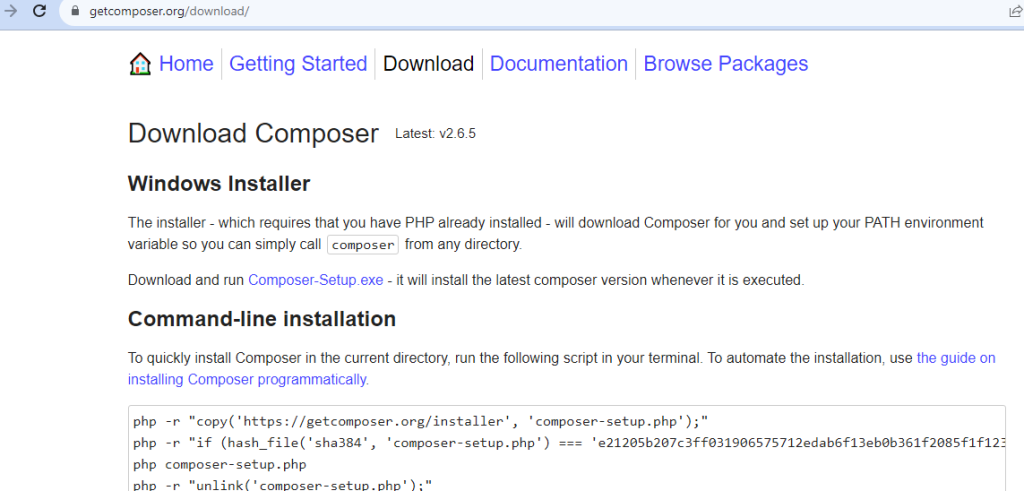
2. Download the Composer-Setup.exe file by clicking on the “Windows Installer” option.

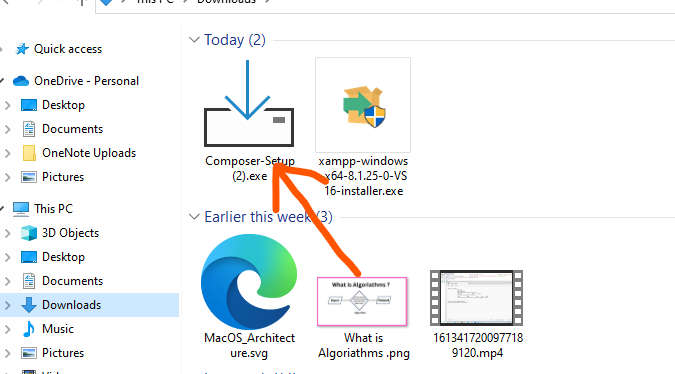
3. Once the file is downloaded, double-click on it to run the installer.
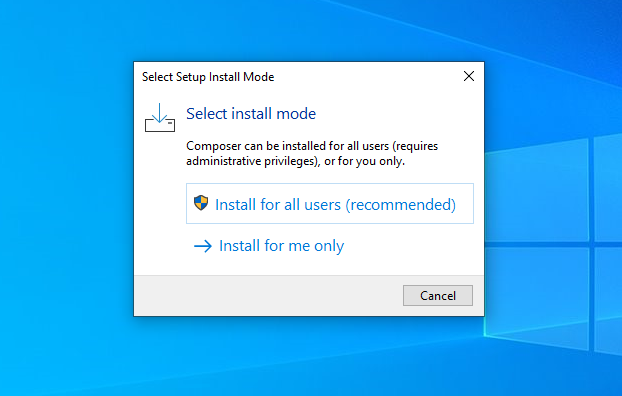
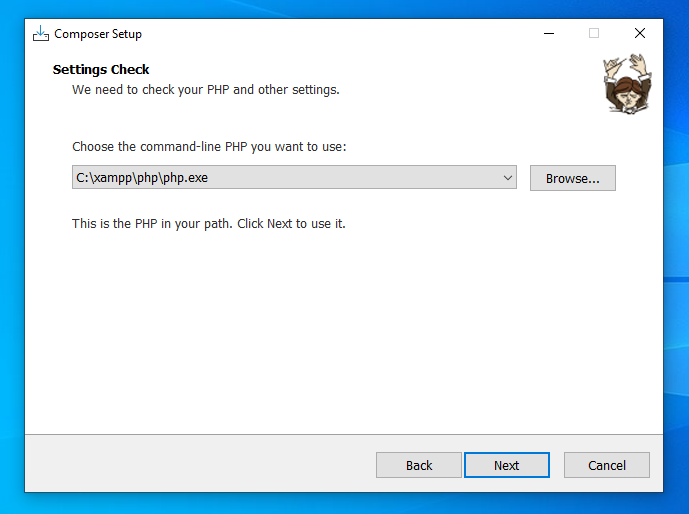
4. The installer will guide you through the setup process. You can leave the default settings as they are or customize them as per your preference.
5. When you reach the “Installation Options” screen, make sure the “Add Composer to PATH” option is checked. This will allow you to use Composer from any directory in the Command Prompt.
6. Continue with the installation by following the remaining on-screen instructions.
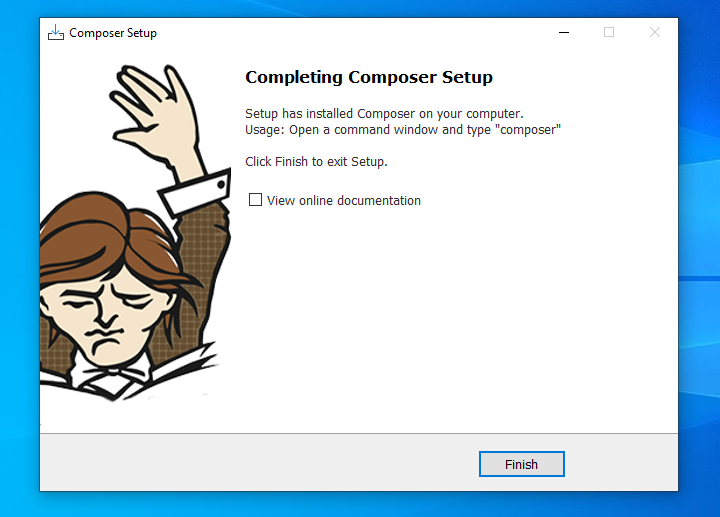
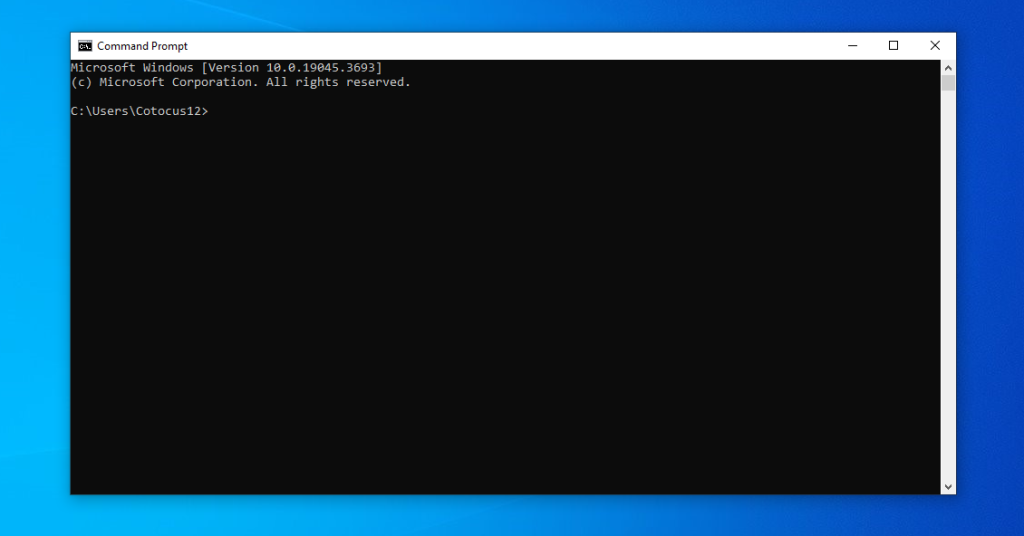
7. After the installation finishes, open a new Command Prompt window (or restart it if it was already open).
8. To verify if Composer is installed properly, type “composer” in the Command Prompt and press Enter. It should display the Composer version and a list of available commands.
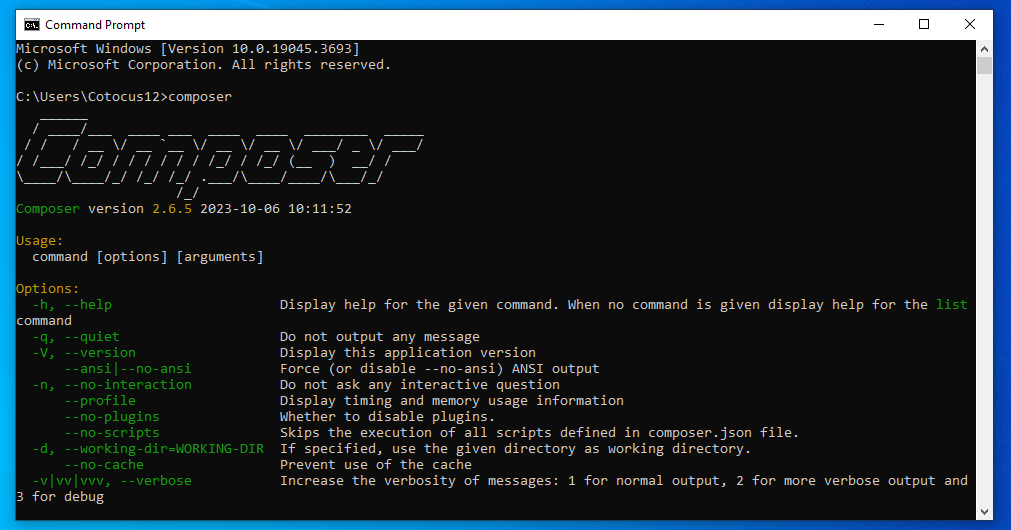
That’s it! Composer is now installed on your Windows system, and you can start using it for managing your PHP dependencies.