Downloading and installing Moodle involves several steps, including setting up a web server, database, and PHP. Below is a step-by-step guide to install Moodle on your system.
Prerequisites
Before installing Moodle, ensure your server meets the following requirements:
- Web Server: Apache, Nginx, or IIS.
- Database: MySQL, MariaDB, PostgreSQL, or Microsoft SQL Server.
- PHP: Version 7.4 to 8.2 (check Moodle Docs for the latest version).
- PHP Extensions: Required extensions like
curl,xml,mbstring,zip,gd,intl, etc. - Memory Limit: At least 256MB (
php.inisetting:memory_limit = 256M).
Step 1: Download Moodle
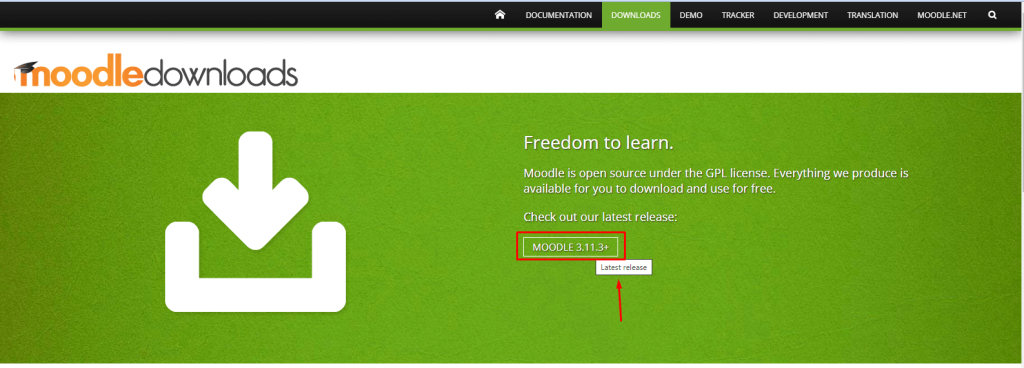
- Go to the official Moodle website: https://download.moodle.org/
- Choose the latest stable version (e.g., Moodle 4.x).
- Download:
- ZIP file (for Windows/Linux manual install).
- Git (for developers).
- Command-line download (Linux):
sh wget https://download.moodle.org/download.php/direct/stable401/moodle-latest-401.zip unzip moodle-latest-401.zip
Step 2: Set Up Web Server & Database
For Linux (Apache, MySQL, PHP)
- Install LAMP Stack:
   sudo apt update
sudo apt install apache2 mysql-server php php-cli php-mysql php-curl php-zip php-xml php-mbstring php-gd php-intl- Secure MySQL:
sudo mysql_secure_installation- Create a Moodle database:
   CREATE DATABASE moodle DEFAULT CHARACTER SET utf8mb4 COLLATE utf8mb4_unicode_ci;
   CREATE USER 'moodleuser'@'localhost' IDENTIFIED BY 'yourpassword';
   GRANT ALL PRIVILEGES ON moodle.* TO 'moodleuser'@'localhost';
   FLUSH PRIVILEGES;
   EXIT;
For Windows (XAMPP/WAMP)
- Install XAMPP (includes Apache, MySQL, PHP).
- Start Apache and MySQL from the XAMPP control panel.
- Create a Moodle database using phpMyAdmin.
Step 3: Install Moodle
- Extract Moodle into your web server directory:
- Linux:
/var/www/html/moodle - Windows:
C:\xampp\htdocs\moodle
- Set permissions (Linux):
   sudo chown -R www-data:www-data /var/www/html/moodle/
sudo chmod -R 755 /var/www/html/moodle/- Run the Moodle installer:
- Open a browser and go to
http://localhost/moodle. - Follow the installation wizard:
- Select language.
- Set database details (MySQL username/password).
- Configure admin account.
- Complete setup.
Step 4: Configure Cron Jobs (Automated Tasks)
Moodle requires a cron job to run scheduled tasks.
- Linux (add to crontab):
  crontab -e
* * * * * /usr/bin/php /var/www/html/moodle/admin/cli/cron.php >/dev/null- Windows: Use Windows Task Scheduler to run
php moodle\admin\cli\cron.php.
Step 5: Secure Moodle
- Enable HTTPS (SSL certificate).
- Restrict access to
config.php(set permissions to640). - Regularly update Moodle (
admin > notifications).
Alternative: Quick Install (Bitnami Moodle)
For a hassle-free setup, use Bitnami Moodle Stack:
- Download from Bitnami Moodle.
- Run the installer (includes all dependencies).
Troubleshooting
- PHP errors: Check
php.inisettings (max_execution_time,memory_limit). - Database issues: Verify MySQL credentials.
- Permissions: Ensure
moodledatadirectory is writable.
For more details, refer to the Moodle Installation Guide.