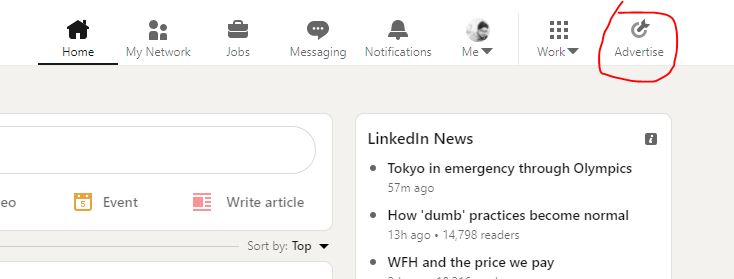
Login to your LINKEDIN Campaign manager – or you can simply click on the left side “Advertise’ of your profile:- https://www.linkedin.com/campaignmanager/accounts
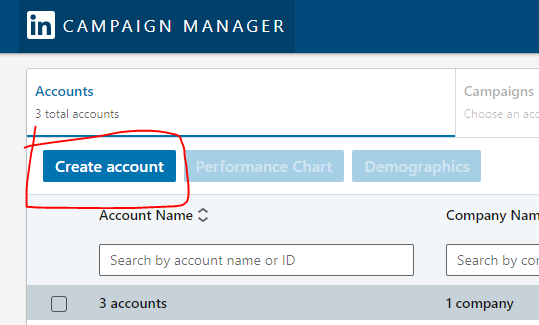
Create account if you don’t have any account:-
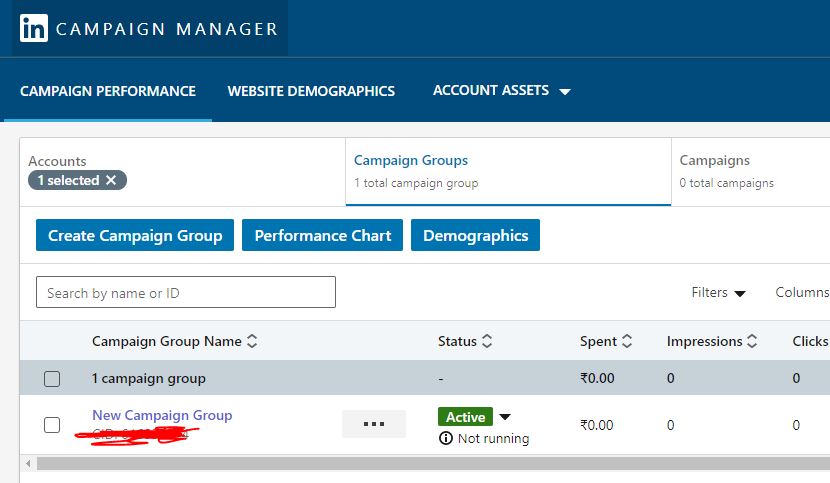
You will get this view of dashboard – click on the campaign group
- Campaign groups allow you to group related campaigns together to manage them at scale.
- You can create an unlimited number of campaign groups to organize your campaigns.
- Each campaign group can hold a maximum of 2,000 campaigns. Once a campaign has been added to a campaign group, it can’t be moved.
Click on create campaign TAB
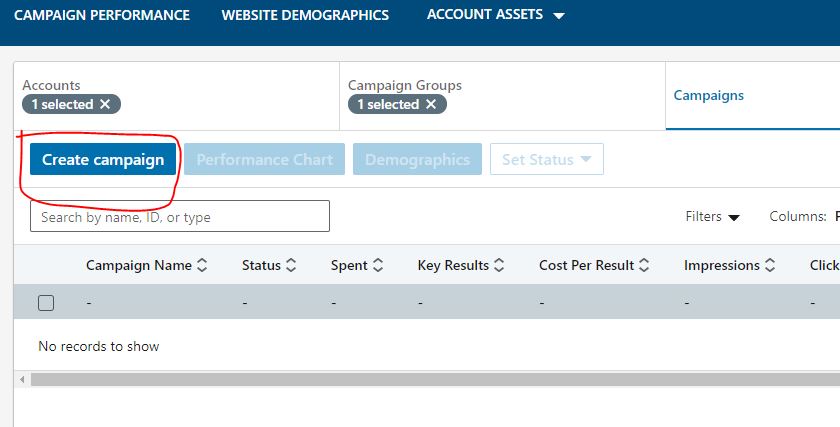
After getting New Campaign group – you can edit the name of the campaign and click on next
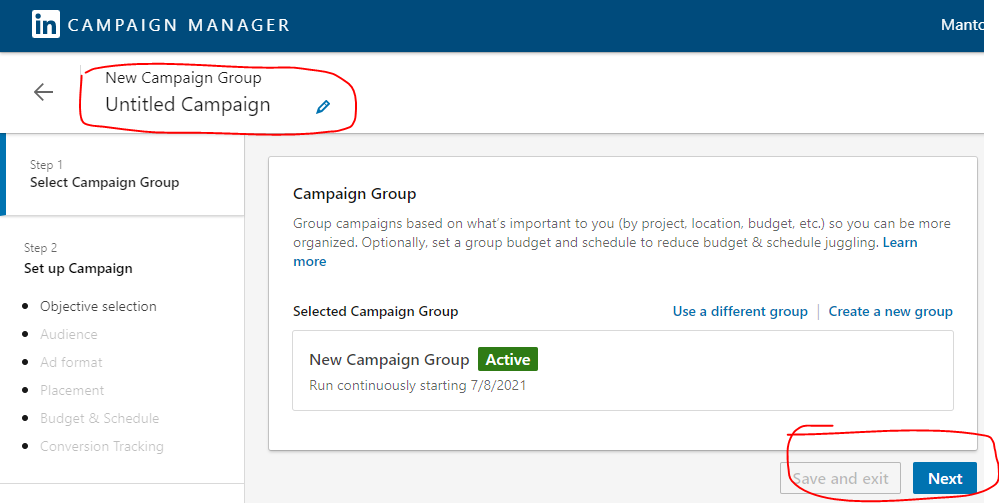
Fill all the details step by step in the dashboard
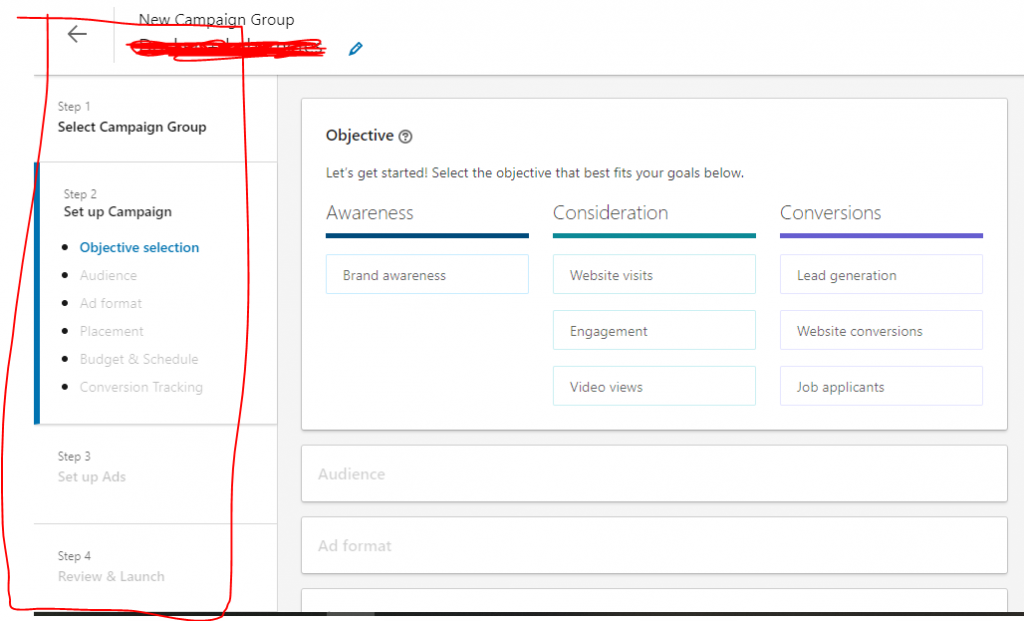
Objective:- Set your specific objective from the available options for your campaign based on your goals. This objective selection gives you an option “the action you want your customers to take when they see your ads”
Audience:- with this option you can select locations (Country/CITY) of your targeted customers. Here LINKEDIN have some great features like you can narrow down your targeted audience by targeting the specific company, demography, education, job experience and interests.
Ad format:- This option allows you to choose “How you want to show your ads to the audience”. For example – Single image AD, Multiple (Carousel) images AD, Video Ads, Message Ads, or Conversation Ads
Placement:- This option allows you to choose the option to place your ADs in the LInkedIN newtwork only or you may allow LINKEDIN to run your ads on LinkedIn and their partner apps and websites.
Budget & Schedule:- This is the most important section where you need to invest sometime to understand all the options and set the budget accrodingly.
Here you will get three options of BUDGET
1. Daily budget
2. Lifetime budget
3. Both daily and lifetime budget
After putting your budget you will get an option to schedule your ads
1. Run campaign continuously
2. You can set a start and end date
Conversion tracking (optional):- This option is optionals which provides you additional reporting and analysis whihc will hel you to better understand the actions people are taking on your website after viewing or clicking on your ad.
After completing the above steps you will get below image dashboard. If you don’t want to create any other ad campaign in that particular campaign group then click on next – you will get the Review option of your Ads, if you want to change anything go through those options if not then simply Launch the campaign.
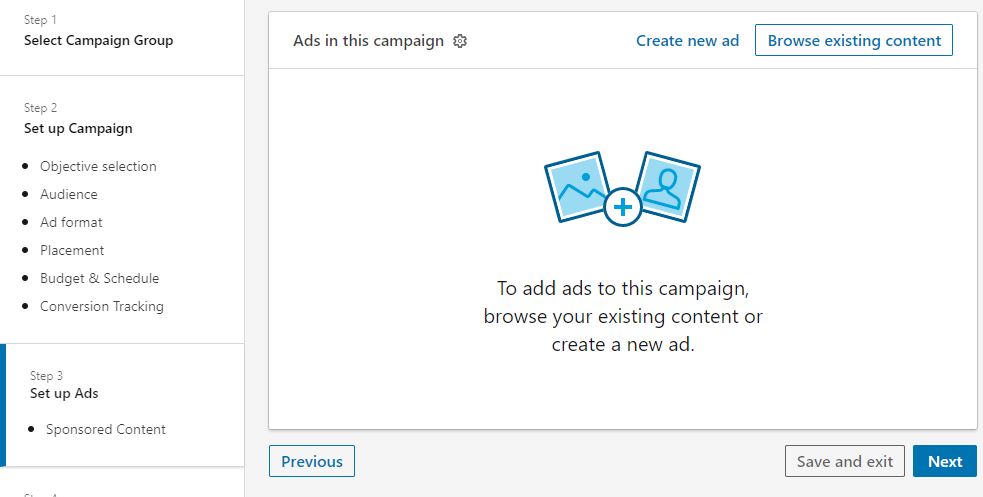
After clicking on the next step – you will get the option to select the images or videos based on your AD format selection.
After that choose your payment option make the payment and simply launch the campaign. You will get this image “You’ve successfully launched your campaign. New ads are under review and will serve pending approval. You will receive an email within 24 to 48 hours if your ad has been rejected.”