To download and install Node.js on Windows 10, you can follow these steps:
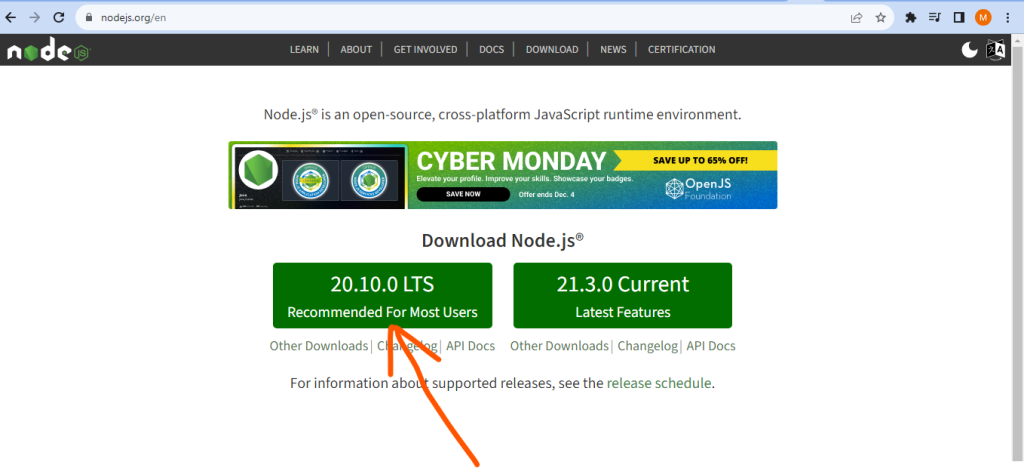
- Visit the official Node.js website at https://nodejs.org/. On the homepage, click on the “Downloads” button. It should automatically detect your operating system as Windows.
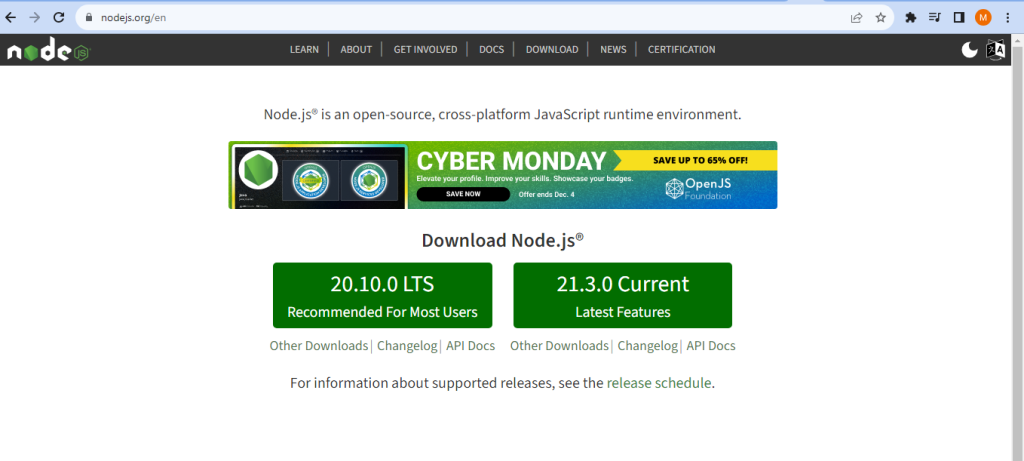
2. You’ll see two installer options: LTS (Long-Term Support) and Current. It is generally recommended to choose the LTS version, which offers stable features and is better suited for most users. Click the “LTS” button to download the installer for it.
3. Once the installer is downloaded, locate the file and double-click on it to run the installer.
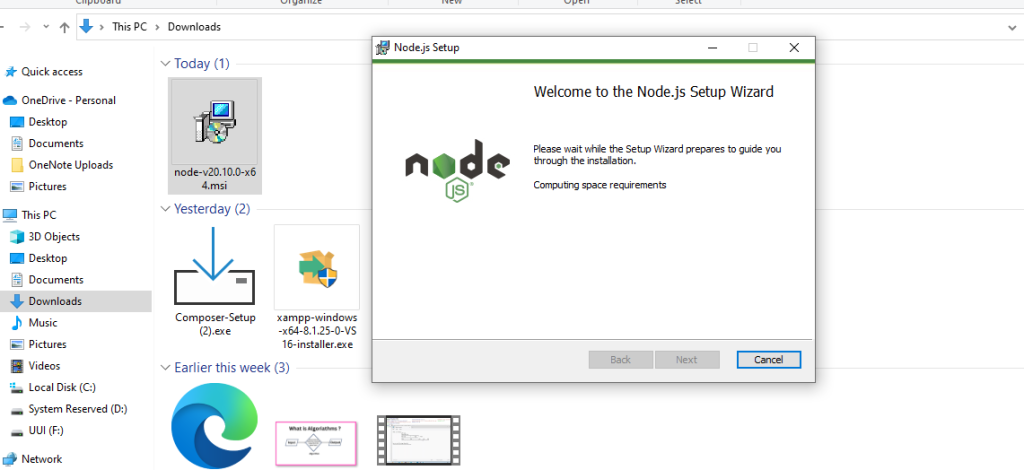
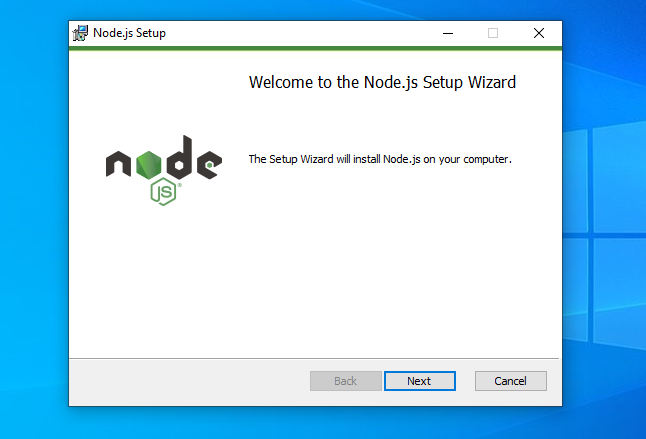
4. You’ll be presented with the Node.js setup wizard. Keep clicking the “Next” button to proceed through the installation.

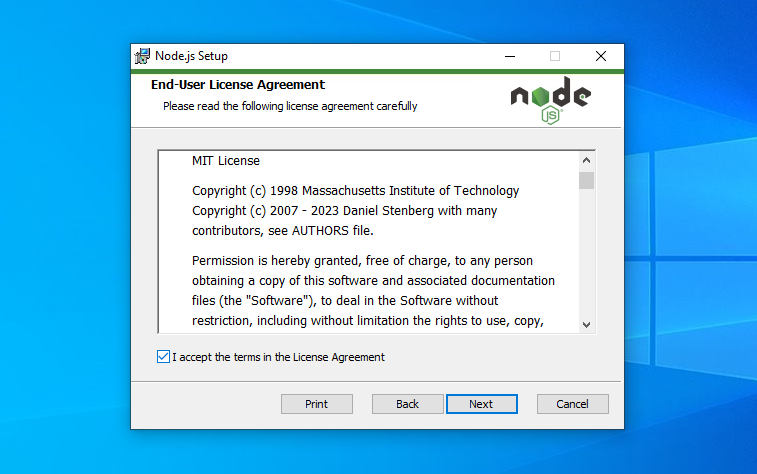
5. Review the license agreement, accept it, and click “Next”.
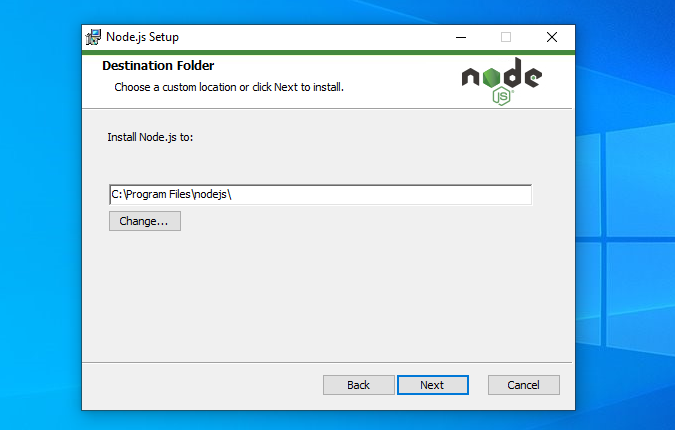
6. Choose the destination folder where you want Node.js to be installed. By default, it is installed in “C:\Program Files\nodejs”, but you can select a different location if desired. Then, click “Next”.
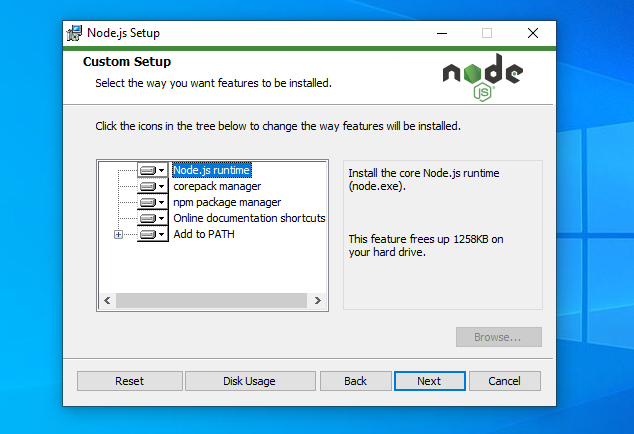
7. On the following screen, select the components you want to install. It is recommended to keep the default selection, which includes the necessary tools such as npm (Node Package Manager). Click “Next”.
8. Choose the start menu folder where you want the Node.js shortcuts to be created. You can keep the default selection and click “Next”.
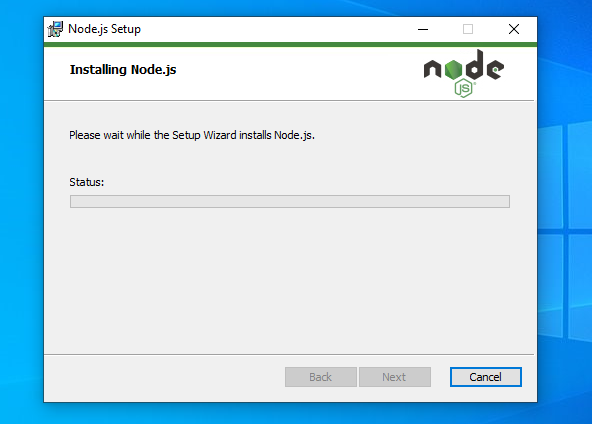
9. Finally, click the “Install” button to begin the installation process.
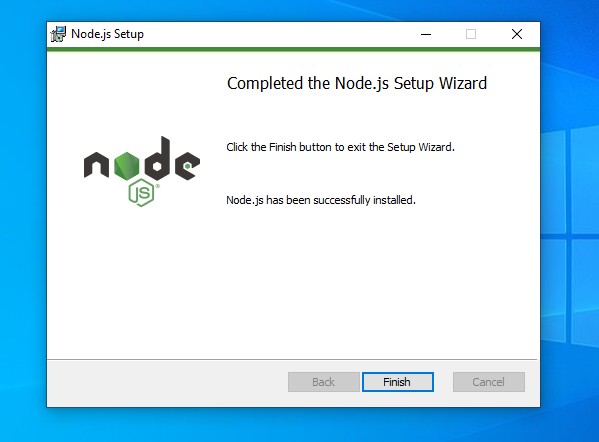
10. Once the installation is complete, you’ll see a “Close” button. Click it to finish the setup.
Node.js should now be installed on your Windows 10 machine. To verify the installation, open the command prompt or PowerShell and type node -v. If you see the version number of Node.js printed, it means Node.js is successfully installed.