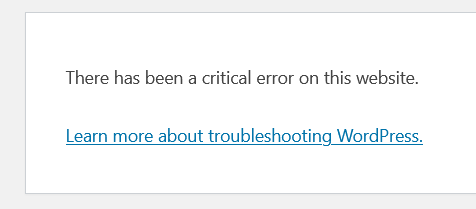
It’s really scary when your WordPress website has a problem and you see a message saying, “There has been a critical error on this website.”
If you can’t access the front part of your site, you need to figure out how to fix the big issue right away. Every minute that goes by without a solution is causing visitors to leave because they’re seeing a big error message on the screen.
The good news is, fixing this critical error is usually not too hard. It might just involve adding a small piece of code or getting rid of a problematic plugin. In this guide, we’ll explore different ways to solve this problem and get your website back up and running quickly.
Why does the “There Has Been a Critical Error on Your Website” error happen?
If you’ve been using WordPress for a while, you might have come across a common issue known as the White Screen of Death. This problem makes your entire website, and sometimes even the admin area, show up as a blank white page.
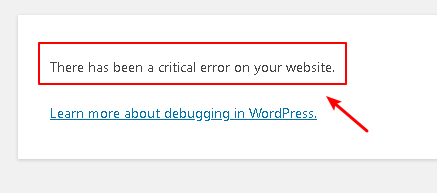
In newer versions of WordPress, this blank screen has been replaced by a critical error message saying, “There has been a critical error on your website. Please check your site admin email inbox for instructions.”
Encountering a critical error on your website can be unsettling, even if it’s not as alarming as your site completely failing to load. The error message might not provide much insight, leaving you wondering about the cause of the problem.
Similar to the White Screen of Death, the root of this issue is often linked to PHP. It could be due to exceeding your memory limit or encountering errors in your code, plugins, or theme. Database corruption is also a possible culprit.
Although the error message itself may not be very informative, understanding these potential causes can simplify the troubleshooting process.
It’s worth exploring other common WordPress errors as well. You might be dealing with multiple issues, such as:
- ERR_CONNECTION_TIMED_OUT: This occurs when your web server is slow or overloaded.
- ERR_CACHE_MISS: If you encounter this, investigate your website’s cache or PHP tools like plugins, as they might be causing the problem.
- 500 Internal Server Error: A serious error often linked to server file corruption.
- Error Establishing a Database Connection: This problem can result from database corruption or issues with the database server.
- HTTP 503 Service Unavailable: Indicates a problem with your server.
- HTTP 502 Bad Gateway: Another server issue, usually triggered by too many visitors overloading it.
If you come across any other unusual errors, refer to these HTTP status codes for more insights.
How to Fix the “Uh-Oh! Something’s Wrong with Your Website” Issue?
If your website is not working correctly, don’t worry! We’ve got some simple steps to help you get it back on track. Since the problem is probably related to PHP, fixing it might involve making changes to some important WordPress files. Before you try anything, make sure to create a backup of your website, even if it’s not working properly – just to be safe!
If you can still log in to your website’s admin area, that’s great! But if your entire site is down, you might need to use FTP (or SFTP).
Contact your web hosting provider or check your hosting dashboard to find your FTP login details. Then, download and install an FTP client like FileZilla. If you’re not sure how to connect to WordPress using FTP, you can follow this helpful guide.
Enable Debug in WordPress
If you’re having problems with your WordPress website, a helpful step is turning on debugging. With debugging active, you can see any PHP errors happening on your site, which helps identify and solve issues.
If you need to manually enable debugging or access the debug log, follow these steps:
Step 1: Connect to your site with FTP.
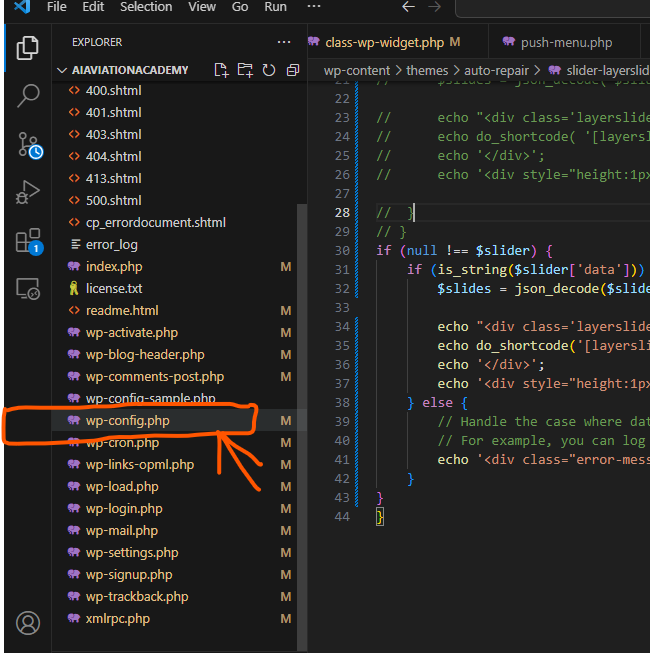
Step 2: Locate wp-config.php in the root folder and open it with a text editor or IDE.
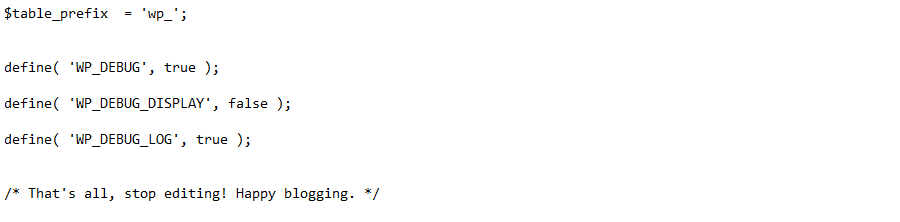
Step 3: Add the following code at the end of the document, just before the final message. Save and close the file afterward.
define( 'WP_DEBUG', true );

define( 'WP_DEBUG_DISPLAY', false );

define( 'WP_DEBUG_LOG', true );
Here’s what it will look like when done:
Your website is now set up to find and record errors for troubleshooting. The error log, named debug.log, can be located in the wp-content folder.
Check for the names of your theme or plugins in the log, as they may be the reason for issues or have references to specific files. Even if you’re unsure how to use this information, save it somewhere—it might come in handy if you seek support.
Once you’re done with troubleshooting, don’t forget to delete these code lines.
Roll Back Your Site
If your WordPress website runs into problems, going back to a previous version can be a simple solution. It might not fix everything, but it’s a good first step. If the issue comes up again, you can try to remember what you did last time.
How you bring back your website depends on how you saved it before. If you used a plugin, just follow the steps in the instructions. If your web hosting service includes backups, you can probably do it directly from your hosting dashboard.
Switching to a Different Theme
If your website encounters a big problem, it might be because of an issue with your theme. To check if the theme is causing trouble, you can temporarily remove it and switch to a default theme. This often resolves the problem right away.
Before you do this, make sure to back up your website. This is important because you’ll want a way to bring your theme files back once you’ve removed them. Simply reinstalling the theme could make you lose any custom styles you’ve added.
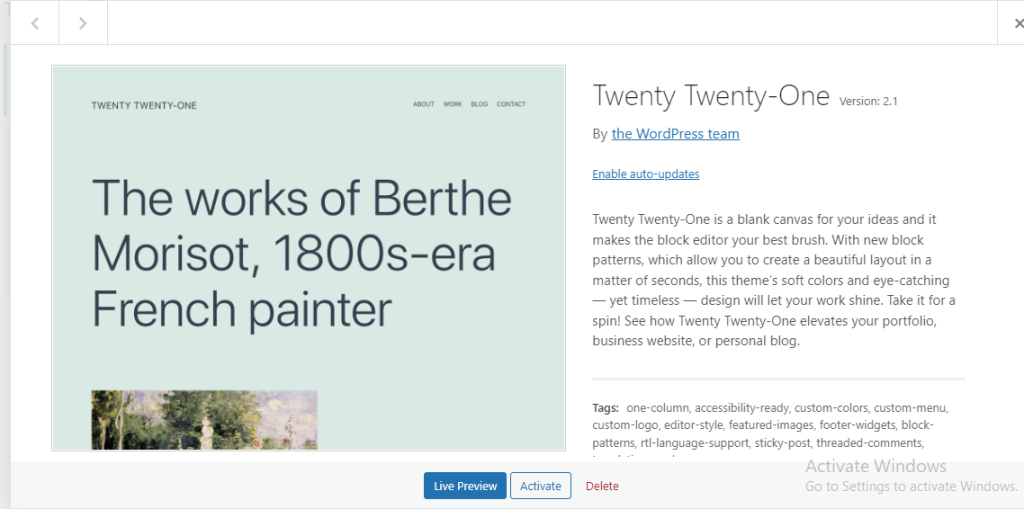
If you can access your website dashboard, here’s an easy way to do it. Go to Appearance > Themes, choose the theme, and click on Delete in the lower right corner of the pop-up window.
If you can’t find this option, try downloading and using a different theme. It’s a good idea to go for a default theme like Twenty Twenty-One as a safe choice.
If you can’t access the backend of your website, follow these easy steps to switch to a default theme using FTP.
Step 1: Connect to your site using FTP.
Step 2: Go to wp-content/themes. You can either rename your theme folder (so you can use it again later) or just delete it.
Step 3: If you don’t have a backup theme already, download Twenty Twenty manually and put its files into the themes folder.
Now your site should look like Twenty Twenty. If it loads correctly, you’ll know there was a problem with your previous theme.
To bring back your original theme, either reinstall it or change the folder name back to what it was.
Disable All Plugins
If your website is acting up, it’s often because of a plugin. If you have many plugins, figuring out which one is causing the issue might seem hard.
Here’s an easy way to find the problematic plugin: turn them all off and check if the problem goes away. If it does, turn them back on one by one until the issue comes back. That’s the troublesome one!
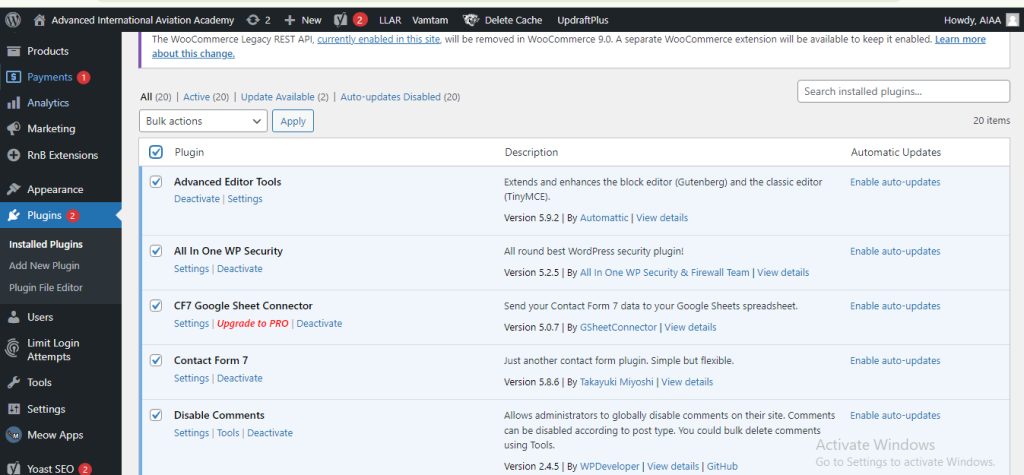
To turn off plugins from your dashboard, go to Plugins > Installed Plugins. Check the box at the top to select all of them. Then, click Bulk Actions > Deactivate. This should stop any conflicts and fix your site.
You can also click Delete if you want to remove the plugins completely. But, keep in mind that you’ll need to reinstall them manually or restore a backup if you choose this option.
Here’s a simplified version of the provided instructions:
- Go to “Installed Plugins” and activate your plugins one by one.
- Alternatively, you can use FTP for a similar process:
a. Log in to your site using FTP.
b. Find the “wp-content” folder.
c. Change the name of the “plugins” folder to “plugins_old” and check if your site works.
d. Change the folder name back to “plugins.” The plugins will remain disabled, allowing you to activate them individually in your dashboard. If plugins reactivate automatically, rename specific plugin folders with “_old” until your site is restored.
Increase the PHP Memory Limit
If your website is broken, it may not be a plugin or theme causing the issue – the PHP memory limit could be the culprit.
What’s the PHP memory limit? Your web server has a certain amount of memory (RAM), and WordPress sets a strict limit on how much memory a single PHP script can use. When this limit is exceeded, you might see the white screen of death or encounter a critical error.
While setting the memory limit too high can slow down your site due to misconfigured scripts, the default value might be too low. By slightly increasing your PHP limit, you could quickly resolve issues with your broken website.
Here’s how:
- Access your site through FTP and open wp-config.php.
- Insert the following code just before the final line and save.
define( 'WP_MEMORY_LIMIT', '128M' );
You can try setting the memory limit to 256M to solve the problem. However, going higher than that is usually not needed unless the plugin instructions say so. If the issue persists despite changing the memory limit, it’s likely that the plugin itself is broken, and you should deactivate it.
Keep in mind that some hosting providers may have very low memory limits that you can’t increase. In such cases, your only solution is to switch to a better hosting provider or remove the problematic plugin.
Increase the Maximum File Size for Uploads and Adjust Text Processing Functions
If you encounter a significant error only in specific situations, and not consistently on every page, making a small adjustment to a couple of PHP functions might solve the problem.
When you face issues uploading large files and end up with an error screen, it’s likely because the maximum upload file size is too small. Similarly, if certain large pages are causing problems, you can resolve it by increasing recursion and backtrack limits.
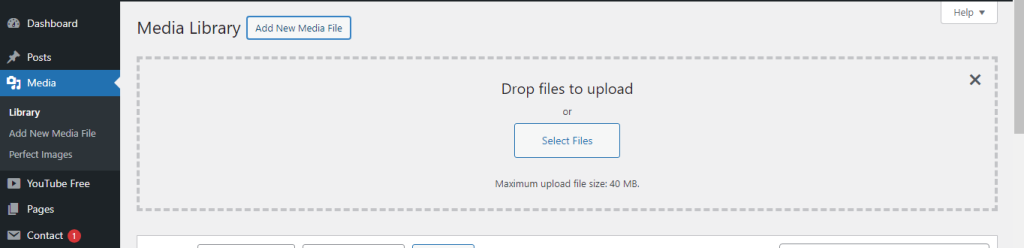
To start, check the maximum upload size and compare it to the file you want to upload. You can do this by going to Media > Add New and looking under the file uploader.
To solve these problems, you have to go into FTP and make changes to the wp-config.php file. Just put the new code right before the last comment line.
If you want to make your maximum file upload size bigger, insert this code:
ini_set('upload_max_size' , '256M' );
ini_set('post_max_size','256M');
To solve the issue of large pages breaking on your website, include this code:
ini_set('pcre.recursion_limit',20000000);

ini_set('pcre.backtrack_limit',10000000);
Clear Your Site Cache
Imagine your website has a quick memory system called a cache. It helps your site load faster most of the time, which is awesome. However, sometimes this memory system can get confused and cause errors on your site.
When this mix-up occurs, don’t worry! You can solve it by clearing the cache. This simple action should fix the issue and bring your site back to normal.
Here’s the cool part: Your website’s speedy memory will soon be back, making your site load fast again. Clearing the cache basically removes the confused files causing the problem.
Here’s a guide on clearing the cache in a WordPress website:
- Identify Your Caching Method:
Hosting Provider’s Caching: Check your hosting provider’s documentation or dashboard for cache clearing options. They often have built-in caching solutions.
Caching Plugin: If you use a caching plugin (e.g., WP Super Cache, W3 Total Cache, WP Rocket, WP Fastest Cache), follow the specific instructions for that plugin to clear the cache.
2. Clear Cache Using Plugins:
- WP Super Cache: Settings > WP Super Cache > Delete Cache
- W3 Total Cache: Performance > Purge All Caches
- WP Rocket: Settings > Clear Cache
- WP Fastest Cache: Delete Cache tab > Delete Cache button
3. Clear Browser Cache:
Cached files in your browser can also affect how you view your website. Clear your browser cache (Ctrl+Shift+Del or Cmd+Shift+Del on most browsers) to ensure you’re seeing the latest version.
4. Contact Hosting Support:
If you’re unsure about your caching setup or encounter issues, reach out to your hosting provider’s support for assistance.
How do I fix problems on my WordPress site using the wc-log file?
To fix problems on your WordPress site using the wc-log file, follow these steps:
- Enable Debugging: First, you need to enable debugging on your WordPress site. This can be done by editing the
wp-config.phpfile. Look for the line that saysdefine('WP_DEBUG', false);and replace it with the following code to enable debugging:
define('WP_DEBUG', true);
define('WP_DEBUG_LOG', true);
define('WP_DEBUG_DISPLAY', false);
Save the file and upload it back to your WordPress root directory.
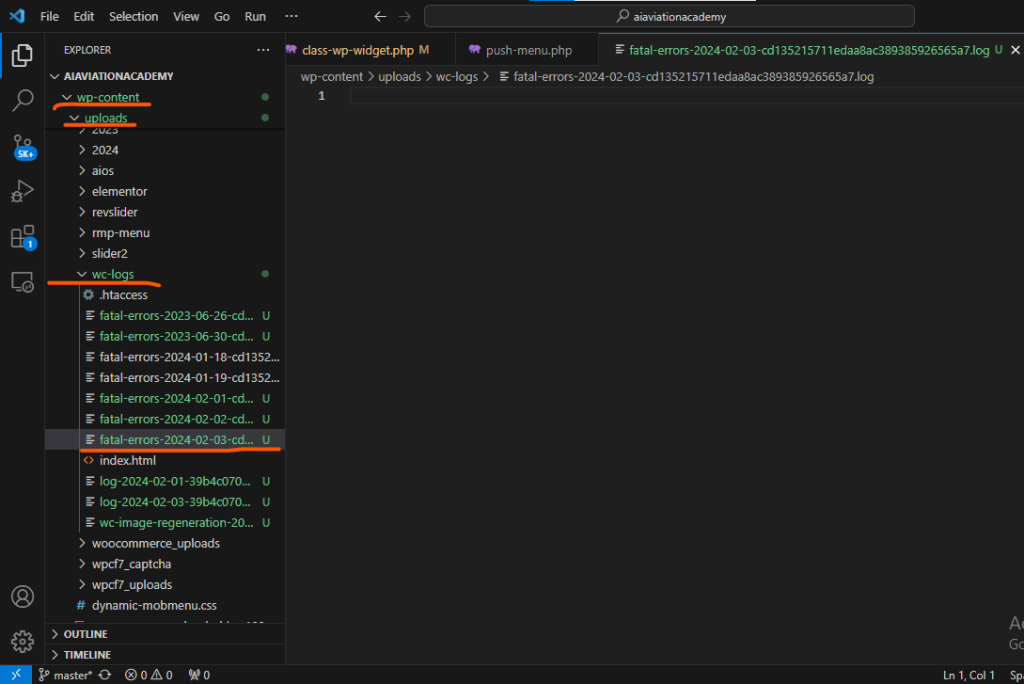
2. Locate the Log File: The log file is named debug.log and it’s located in the wp-content folder of your WordPress installation. You can download this file to your local computer for easier viewing.
3. Analyze and Troubleshoot Errors: Once you have access to the log file, analyze the error messages to identify the root cause. Error messages might seem cryptic, but they often hold valuable clues to the underlying problem.
4. Implement Solutions: Depending on the nature of the errors, you might need to check for conflicts between different plugins or themes, seek expert help, or make changes to your site’s configuration. If errors are due to conflicts, try temporarily deactivating plugins or switching to a default theme to isolate the problematic component.
5. Disable Debugging: After fixing the issue, disable the debug mode to prevent potential security risks and to avoid slowing down your site. You can do this by changing WP_DEBUG and WP_DEBUG_LOG lines of code in the wp-config.php file back to false.
How to Enhance Comment Security on WordPress Using WPDiscuz and CAPTCHA
Here’s a step-by-step guide to adding CAPTCHA to your WordPress comment section using WPDiscuz to enhance security: Step 1: Install WPDiscuz Plugin Step 2: Install Google reCAPTCHA Read More