Upgrade & Secure Your Future with DevOps, SRE, DevSecOps, MLOps!

We spend hours on Instagram and YouTube and waste money on coffee and fast food, but won’t spend 30 minutes a day learning skills to boost our careers.
Master in DevOps, SRE, DevSecOps & MLOps!

Learn from Guru Rajesh Kumar and double your salary in just one year.

Get Started Now!

How to run PHP code in XAMPP

To run PHP code in XAMPP, you’ll need to follow these steps:

  1. Install XAMPP: If you haven’t already installed XAMPP, download it from the Apache Friends website (https://www.apachefriends.org/index.html) and follow the installation instructions for your operating system (Windows, macOS, or Linux). You can find instructions here on how to download the XAMPP server for Windows. Click the link below.-https://www.aiuniverse.xyz/how-to-setup-xampp-in-windows-10/

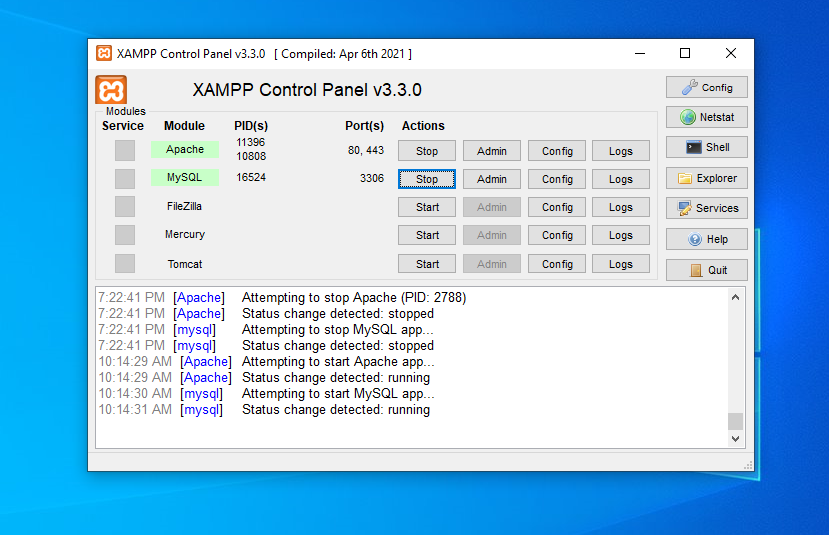
2. Start XAMPP Control Panel: Once XAMPP is installed, start the XAMPP Control Panel. On Windows, you can typically find it in the Start menu or by searching for “XAMPP Control Panel”. On macOS, you can find it in the “Applications” folder.

3. Start Apache Server: In the XAMPP Control Panel, click the “Start” button next to Apache to start the Apache web server. Apache is the web server that will serve your PHP files.

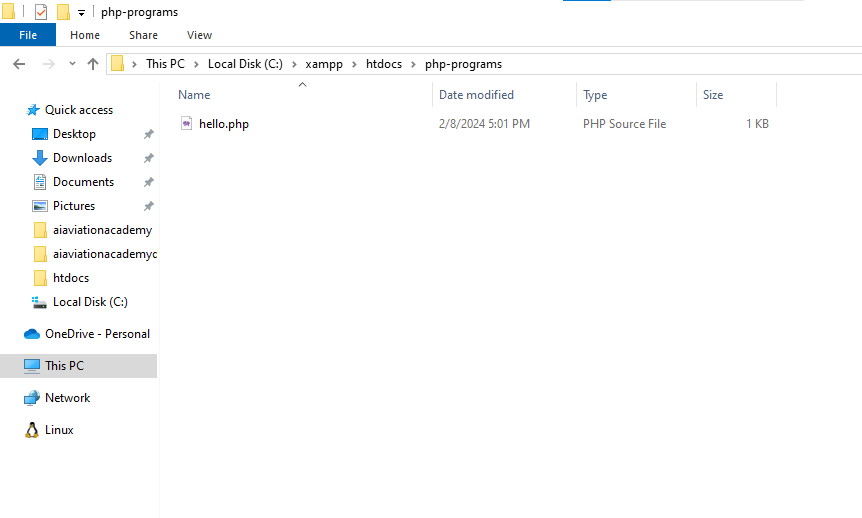
4. Write PHP Code: Create or open a PHP file using a text editor. You can use any plain text editor such as Notepad (Windows), TextEdit (macOS), or any code editor like Visual Studio Code, Sublime Text, or Atom. For example, create a file named hello.php and add the following code:

   <?php
   echo "Hello, world!";
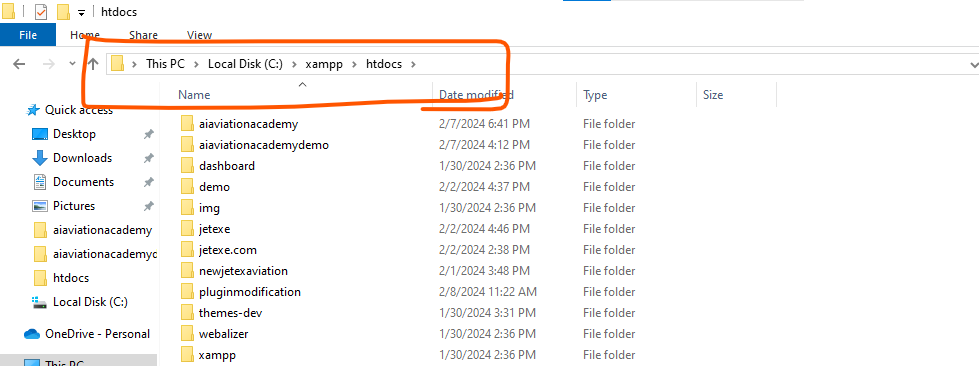
   ?>

5. Save PHP File: Save the PHP file in the htdocs directory inside the XAMPP installation directory. By default, on Windows, this directory is C:\xampp\htdocs, and on macOS, it’s /Applications/XAMPP/htdocs.

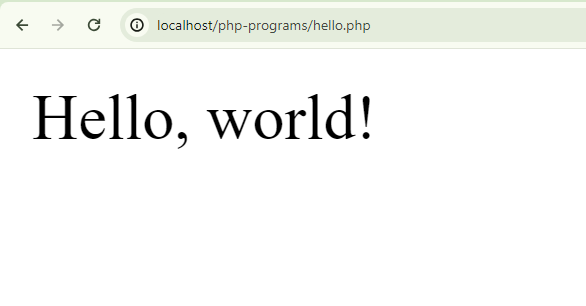
6. Access PHP File in Browser: Open your web browser and navigate to http://localhost/hello.php. This URL corresponds to the hello.php file located in the htdocs directory of your XAMPP installation. You should see “Hello, world!” displayed in your browser, indicating that your PHP code is running successfully.

That’s it! You’ve now successfully run PHP code in XAMPP. You can create more PHP files and access them in the browser using similar steps. Remember to stop the Apache server from the XAMPP Control Panel when you’re done testing your PHP code to conserve system resources.

Related Posts

How to Install Node.js and npm (Step-by-Step Guide)

How to Install Node.js and npm (Step-by-Step Guide) Node.js is a JavaScript runtime built on Chrome’s V8 JavaScript engine, and npm (Node Package Manager) is the package Read More

Read More

Creating a WordPress Post with Google Image Search Results in PHP

In this blog post, we will explore a PHP script that utilizes the Google Custom Search API to search for images based on user-defined keywords. We’ll also Read More

Read More

How to Automatically Generate Image Search Queries Based on Keywords Using Google API

To automatically generate image search queries using Google API, you can use the Custom Search JSON API. Here’s a step-by-step guide: Step 1: Create a Google Cloud Read More

Read More

How to Build an Image Search Engine with Google Custom Search API and PHP

Building an image search engine using the Google Custom Search API and PHP involves several steps. Here is a detailed guide: Prerequisites Step 1: Create a Custom Read More

Read More

What is Composer, and why is it used in PHP development?

Composer is a dependency management tool specifically designed for PHP. It streamlines the process of managing libraries and packages required for PHP projects, making development more efficient Read More

Read More

Understanding PHP Data Types: A Comprehensive Guide with Examples

In PHP, data types refer to the various kinds of data that can be stored and manipulated within the language. PHP is a loosely typed language, meaning Read More

Read More
Subscribe
Notify of
guest
0 Comments
Oldest
Newest Most Voted
Inline Feedbacks
View all comments
0
Would love your thoughts, please comment.x
()
x