Customizing the appearance of a Moodle site involves several steps, allowing you to change the look and feel to match your organization’s branding, improve user experience, and make the platform more engaging. Here’s a detailed guide on how to customize your Moodle site’s appearance:
1. Change Themes
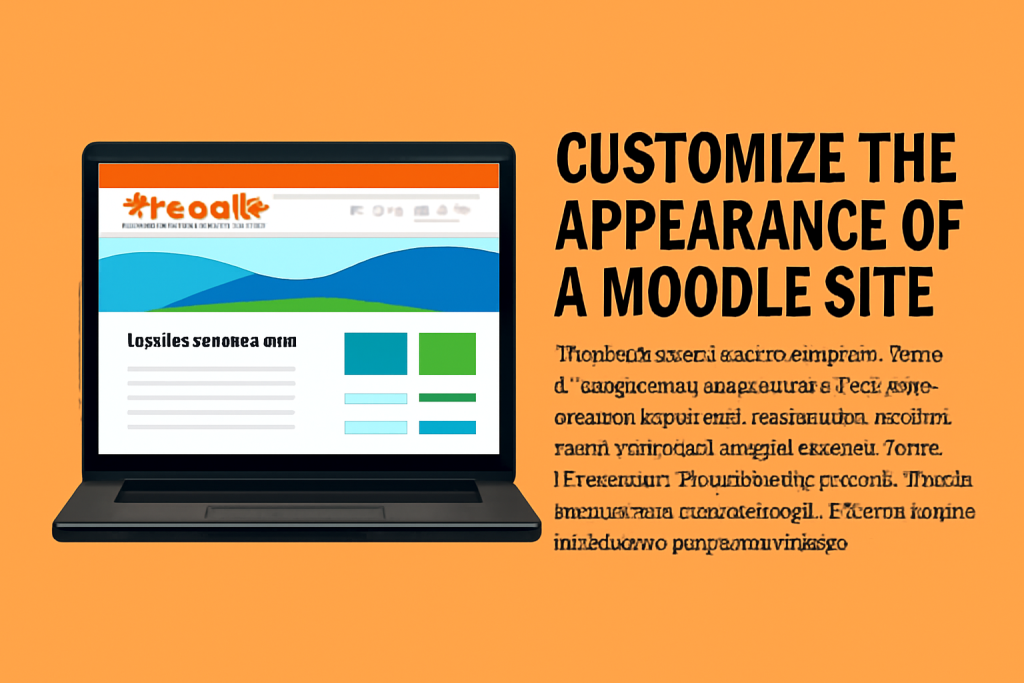
Themes control the overall look and layout of your Moodle site. You can either choose from built-in themes or install a custom theme.
Steps to Change or Install a Theme:
- Log in as an Administrator.
- Go to Site administration > Appearance > Themes > Theme settings.
- Under Theme settings, select a theme for your site:
- Choose from the default Moodle themes, like Boost, Classic, or More.
- You can also install third-party themes or upload a custom theme from the Theme selector option.
- Install a New Theme (optional):
- To install a new theme, go to Site administration > Plugins > Install plugins.
- Upload the theme’s ZIP file or install from the Moodle Plugin directory.
- After installation, select the new theme under Appearance > Themes > Theme selector.
Theme Customization:
- Many themes come with a built-in customizer to modify colors, fonts, and logos.
- For example, the Boost theme provides customization options under Site administration > Appearance > Themes > Boost.
- You can edit CSS files for more advanced customizations if needed.
2. Custom Logo and Branding
Moodle allows you to upload a logo and apply branding elements to personalize your site.
Steps to Upload a Custom Logo:
- Go to Site administration > Appearance > Themes > Theme settings.
- Under Logo, click Choose a file and upload your desired logo.
- Customize other branding elements, like color schemes, to align with your institution’s brand.
3. Modify Colors and Fonts
Moodle offers customization for colors and fonts, which can be done via the theme settings or custom CSS.
Steps for Modifying Colors and Fonts:
- Go to Theme settings:
- Under Site administration > Appearance > Themes > Theme settings.
- Change the color options directly from the theme settings or add custom CSS.
- For example, you can change the primary color or other accent colors.
- CSS Customization (for advanced users):
- You can add custom CSS under Site administration > Appearance > Themes > Custom CSS.
- This allows you to control more granular design changes (like fonts, borders, spacing, etc.).
4. Add Custom Blocks and Plugins
Blocks are useful for adding extra content or functionalities to your Moodle site. You can customize the appearance of blocks or install new ones.
Steps to Add Custom Blocks:
- Go to the homepage or a course page where you want to add the block.
- Click on Turn editing on.
- On the left side, click Add a block and choose from the available blocks.
- Some custom blocks may require you to install plugins, which you can do from Site administration > Plugins > Install plugins.
5. Custom Home Page Layout
The home page layout can be modified to control how content appears to users when they first log in.
Steps to Modify Home Page Layout:
- Go to: Site administration > Front page.
- Choose between different front page settings, such as:
- Front page items when logged in: Decide what is visible to logged-in users.
- Front page settings: Choose between a list of courses, news items, or a custom dashboard.
- You can also create custom dashboard layouts for different user roles (students, teachers, etc.).
6. Advanced Customization (CSS, JavaScript)
For deeper customization, you can add custom CSS and JavaScript to modify your site’s appearance or behavior.
Steps to Add Custom CSS/JavaScript:
- Go to Site administration > Appearance > Additional HTML.
- In the HEAD section or Before BODY tag sections, you can paste your custom CSS or JavaScript.
7. Customize the Footer
The footer can be customized with links, copyright information, or additional branding.
Steps to Edit the Footer:
- Go to Site administration > Appearance > Additional HTML.
- Add custom HTML code in the Footer section to display the desired content.
8. User Interface (UI) and Navigation
You can customize the navigation menus and the user interface to make it more user-friendly.
Steps to Customize Navigation:
- Custom Menu: Go to Site administration > Appearance > Navigation and edit the custom menu.
- Block Layout: Modify the block layout and navigation to place useful links and items at the top or side of the page.
9. Mobile Customization
Make sure your Moodle site is mobile-friendly by selecting a responsive theme like Boost or Fordson. You can also tweak specific settings for mobile responsiveness.
Steps to Customize Mobile Interface:
- Choose a mobile-responsive theme.
- Check the Mobile settings in Site administration > Appearance > Theme settings.
- Optionally, you can tweak mobile-specific CSS for a more tailored experience.