Creating and managing user surveys and feedback in Moodle can be done using built-in features like Feedback and Survey activities. Here’s a step-by-step guide for both options:
1. Using the Feedback Activity
Moodle’s Feedback activity is designed specifically to gather responses from users in the form of surveys or polls. Here’s how to create and manage a survey using the Feedback tool:
Step 1: Enable the Feedback Tool
- Go to the course where you want to add the survey.
- Turn on Editing mode by clicking the “Turn editing on” button in the top-right corner.
- Add an activity by clicking the “Add an activity or resource” link in the section where you want to add the survey.
Step 2: Add a Feedback Activity
- From the activity options, select Feedback and click Add.
- Fill in the Feedback settings:
- Name: Give your survey a title (e.g., “End-of-Course Feedback”).
- Description: Provide instructions or context for the users.
- Availability: Set the start and end dates for the survey availability.
- Respondent options: You can decide whether users can submit the feedback anonymously or not, and whether users can modify their responses after submission.
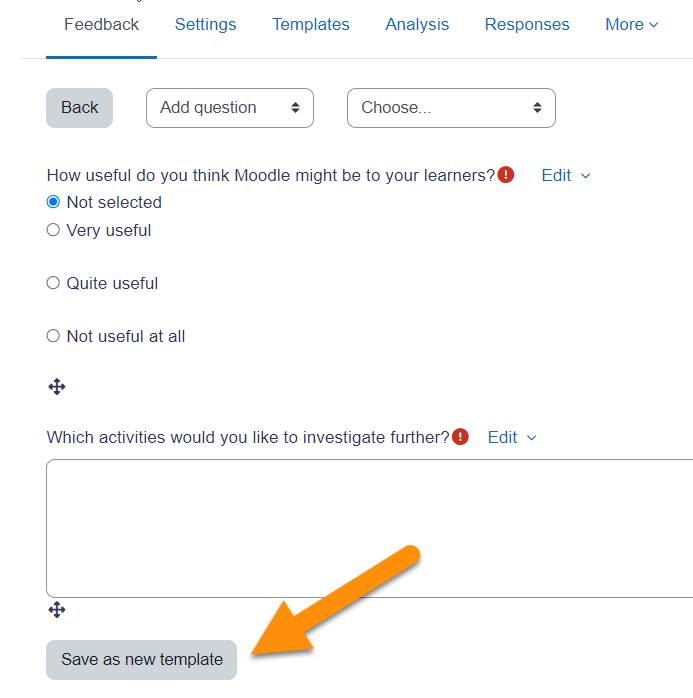
Step 3: Create Survey Questions
- After saving the general settings, you’ll be redirected to the Questions tab.
- To create new questions, click Add a question. You can choose from a variety of question types, such as:
- Multiple Choice
- Short Answer
- Likert Scale (useful for rating-based questions)
- Yes/No and other formats.
- Add the questions and configure each one with settings like required responses or randomizing the answer order.
Step 4: Test and Review
- Once you’ve added all questions, you can preview the survey by clicking Preview at the bottom of the page. This helps you ensure the survey works as intended before releasing it to students.
- When you’re satisfied, click Save and display to view the Feedback activity.
Step 5: Analyze Feedback Responses
- After users have submitted their responses, you can view the results by going back to the Feedback activity and clicking on the View all responses link.
- The feedback results can be exported to various formats such as Excel, or CSV for further analysis.
2. Using the Survey Activity
Moodle’s Survey activity is designed for creating predefined surveys, with built-in question templates that align with research-based surveys. It’s more suitable for structured, research-focused surveys than for free-form feedback.
Step 1: Enable the Survey Tool
- Follow the same initial steps as with the Feedback activity: Turn editing on, and then click Add an activity or resource.
- Select Survey and click Add.
Step 2: Configure Survey Settings
- Fill in the necessary information such as:
- Name: Title of your survey.
- Description: Explanation or context for the survey.
- Survey Type: Choose from several predefined survey templates. These are based on educational research and often include scales like:
- Columbia Scale
- CIPP (Context, Input, Process, Product)
- Course Experience Questionnaire
- National Survey of Student Engagement (NSSE)
- University of Wisconsin Survey
- You can select one that best suits your needs.
Step 3: Customize Availability
- Set the open/close dates for when students can participate in the survey.
- Choose options like whether responses are anonymous or if you want to collect specific information about the respondents.
Step 4: Review Survey Results
- After collecting responses, you can view and analyze the data directly in Moodle.
- Go to the Results tab in the Survey activity, where you can view the data summary for each question.
- Results can be exported into formats like CSV for detailed analysis.
3. Best Practices for Managing Surveys & Feedback in Moodle
- Privacy: Ensure you manage anonymity carefully. For surveys, it’s important to set the “Anonymity” option if you want responses to be anonymous.
- Clear Instructions: Always provide clear instructions and context for the survey, so users understand the purpose and importance of their participation.
- Reminders: Use Moodle’s Notifications system or manual reminders to prompt students to fill out the survey before the deadline.
- Data Analysis: Regularly analyze the data collected through surveys. Use Moodle’s export options to conduct deeper analysis outside the platform if necessary.
- Iterate and Improve: Based on the feedback received, you can adjust course content, teaching methods, or even the survey questions to improve your course over time.
By using the Feedback and Survey tools in Moodle, you can easily gather meaningful insights from your users, helping you to continuously improve your courses and student experience.