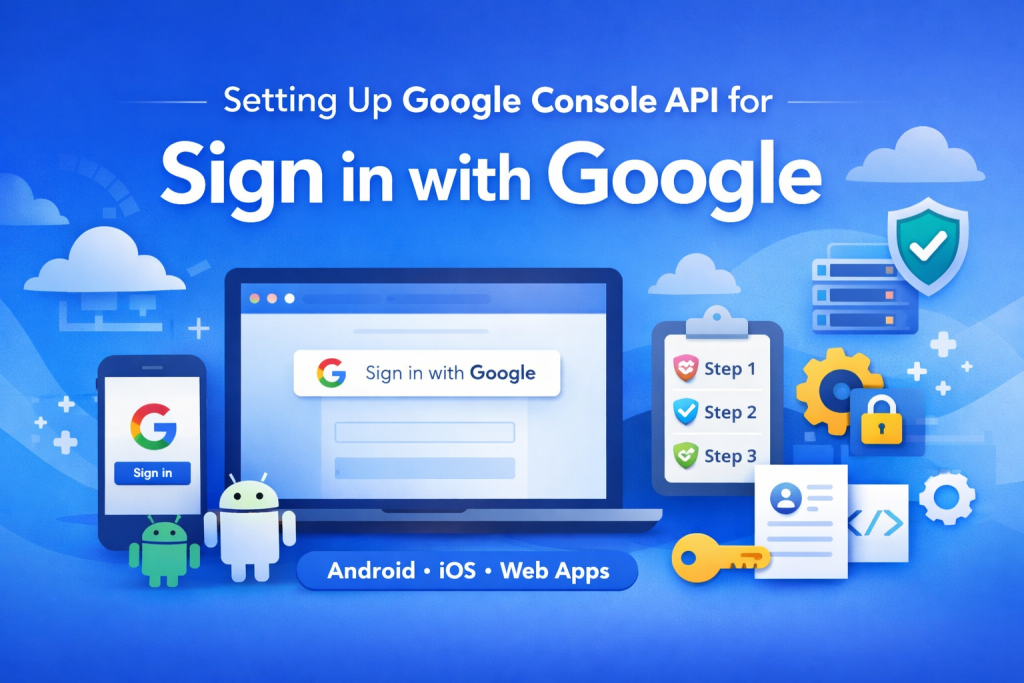
Google Sign-In is one of the most trusted and widely used authentication methods today. Whether you are building a mobile app, web application, or backend system, integrating Google Login improves user experience, security, and trust.
In this guide, you’ll learn how to configure Google Cloud Console step by step to enable “Sign in with Google” (OAuth 2.0) correctly, without common mistakes.
What Is Google Sign-In (OAuth 2.0)?
Google Sign-In uses OAuth 2.0, a secure authorization framework that allows users to authenticate using their Google account without sharing passwords.
With Google OAuth:
- Users log in faster
- Developers avoid handling passwords
- Security and trust are handled by Google
Prerequisites Before You Start
Before setting up Google Console, make sure you have:
- A Google account
- Your app details (package name / domain / bundle ID)
- Backend callback URL (if applicable)
- Android SHA-1 keys (for mobile apps)
Step 1: Create or Select a Google Cloud Project
- Visit Google Cloud Console
- Click Select a project (top bar)
- Choose New Project
- Enter a project name (example:
MyApp Google Login) - Click Create
- Ensure the project is selected
Step 2: Configure OAuth Consent Screen (Mandatory)
The OAuth consent screen defines how your app appears to users during login.
- Go to APIs & Services → OAuth consent screen
- Select User Type
- External → Public apps
- Internal → Google Workspace only
- Fill required details:
- App name
- User support email
- Developer contact email
- App domain (optional but recommended)
- Add scopes:
openidemailprofile
- Add Test users if app is in testing
- Save and continue
Step 3: Enable Required APIs (Optional but Recommended)
- Navigate to APIs & Services → Library
- Search and enable:
- Google Identity Services
- People API (only if profile data is needed)
- Click Enable
Step 4: Create OAuth Client ID (Core Configuration)
Go to APIs & Services → Credentials → Create Credentials → OAuth Client ID
A) Android App Configuration
- Choose Application Type: Android
- Enter:
- App name
- Package name (must match exactly)
- SHA-1 fingerprint
- Click Create
How to Generate SHA-1
- Debug SHA-1:
- Android Studio → Gradle → signingReport
- Production SHA-1:
- Google Play Console → App Integrity → App signing key
⚠️ Both debug and release SHA-1 must be added.
B) Web Application Configuration
- Choose Application Type: Web Application
- Add:
- Authorized JavaScript origins
Example:https://yourdomain.com - Authorized redirect URIs
Example:https://yourdomain.com/auth/google/callback
- Authorized JavaScript origins
- Click Create
- Copy:
- Client ID
- Client Secret
C) iOS Application Configuration
- Choose Application Type: iOS
- Enter:
- Bundle ID
- Create the credential
Step 5: Configure Redirect URIs Correctly
Redirect URIs must match exactly, including:
- HTTPS
- Trailing slashes
- Subdomains
Incorrect redirect URI causes:
redirect_uri_mismatcherror
Step 6: Publish OAuth Consent Screen
To allow public users:
- Go to OAuth consent screen
- Change status from Testing to In production
- Basic scopes (
email,profile) usually do not require verification
Step 7: Integrate Credentials into Your Application
Depending on your setup:
- Android / Flutter → Package name + SHA-1
- Web / Backend → Client ID & Secret
- Firebase Auth → Add SHA-1 + download
google-services.json
Step 8: Common Issues & Fixes Checklist
✔ OAuth consent screen saved
✔ Correct Google Cloud project selected
✔ Correct package name / domain
✔ Debug & release SHA-1 added
✔ Test users added (if testing)
✔ Redirect URI exactly matches
✔ App published for production use
Best Practices for Google Sign-In
- Use minimal scopes
- Never expose Client Secret in frontend code
- Verify ID tokens on backend
- Keep OAuth credentials environment-specific
- Regularly audit credentials
Conclusion
Setting up Google Sign-In through Google Cloud Console is straightforward when done correctly. Most failures happen due to SHA-1 mismatch, incorrect redirect URIs, or missing consent screen configuration.
Follow this guide step by step, and your Google Login integration will work smoothly across Android, iOS, Web, and backend systems.