Creating and managing groups in Moodle is a great way to organize students, facilitate collaboration, and manage activities in a course. Here’s a step-by-step guide on how to create and manage groups in Moodle:
1. Creating Groups in Moodle
Step 1: Access the Course
- Log in to your Moodle site.
- Navigate to the course where you want to create groups.
Step 2: Enable Editing
- Click the “Turn editing on” button, typically located at the top right of the course page.
Step 3: Open the Groups Section
- In the course administration panel (usually on the left side), look for the “Users” section.
- Under “Users,” click on “Groups.” This will take you to the groups management page.
Step 4: Create a New Group
- On the groups management page, click the “Create group” button at the top.
- Fill in the group details:
- Group Name: Name your group (e.g., “Group 1”, “Math Study Group”).
- Group Description (optional): Provide additional information about the group.
- Group Picture (optional): Add an image to represent the group.
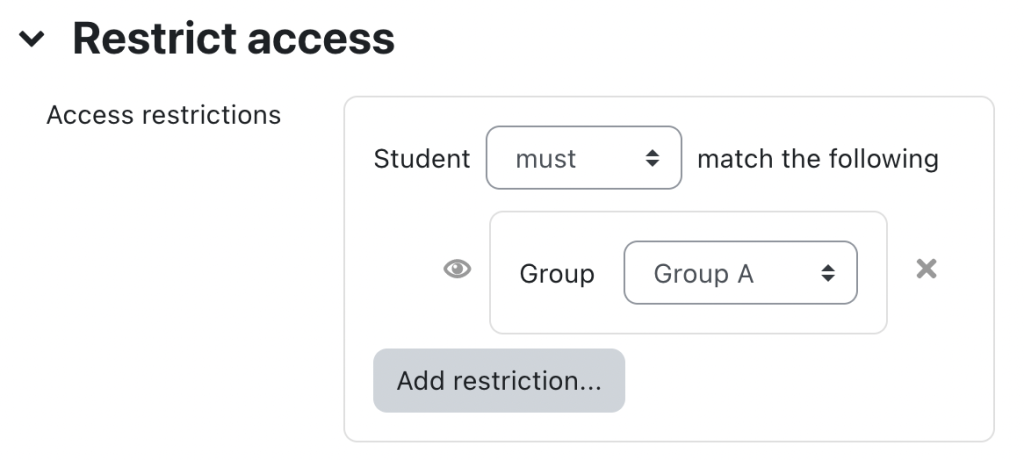
- Grouping (optional): You can associate the group with a grouping. Groupings are useful if you have multiple groups and want to organize them into specific categories.
Step 5: Save the Group
- Once you’ve filled in the group details, click “Save changes.”
2. Adding Users to Groups
Step 1: Choose the Group
- On the group management page, select the group you want to add users to by clicking on its name.
Step 2: Add Users
- Once you’re in the group’s settings page, click the “Add/remove users” button.
- A list of enrolled users will appear.
- Select the users you want to add to the group by checking the box next to their name, then click the “Add” button.
3. Using Groupings for More Complex Group Management (Optional)
If you want to group multiple groups together under a specific category (e.g., all study groups for a particular subject), you can use groupings.
Step 1: Create a Grouping
- In the Groups section, click the “Groupings” tab.
- Click “Create grouping”.
- Give the grouping a name (e.g., “Math Study Groups”).
- Click “Save changes”.
Step 2: Assign Groups to the Grouping
- After creating a grouping, click on the “Show groups in grouping” button.
- Select the groups you want to add to the grouping and click “Add”.
4. Managing Group Settings
Step 1: Access Group Settings
- On the Groups page, select the group you want to manage.
- Click “Edit settings” to modify the group’s name, description, or group picture.
Step 2: Grouping Settings (Optional)
- You can also edit the grouping associated with the group or change its settings from here.
5. Assigning Activities to Specific Groups
Once your groups are created, you can assign activities to specific groups. Here’s how:
Step 1: Choose an Activity
- Go to the course page and select the activity (e.g., assignment, quiz) you want to assign to groups.
Step 2: Edit Activity Settings
- Click “Edit settings” for the activity.
- Scroll down to the “Group mode” section:
- No groups: No groups are used.
- Separate groups: Each group can only see and interact with their own members.
- Visible groups: All groups are visible, but students can only interact with their own group.
Step 3: Save Changes
- After selecting the appropriate group mode, click “Save and return to course”.
6. Group Messaging and Communication
- To send a message to a specific group, go to the Participants list and filter by group.
- Select the group and then use the “Send a message” option to communicate with all members.
7. Viewing and Monitoring Group Work
You can track and manage students’ group work via activities, such as assignments, forums, or collaborative projects, that are specifically assigned to groups. You can access group submissions and view their progress in individual activities.
Summary of Key Points:
- Create Groups: From the course > Users > Groups.
- Assign Users: Add students to groups via the “Add/remove users” option.
- Groupings: Use groupings to organize multiple groups together.
- Activities: Assign group-specific activities using group mode settings.
- Communication: Use group messaging to communicate with all members.