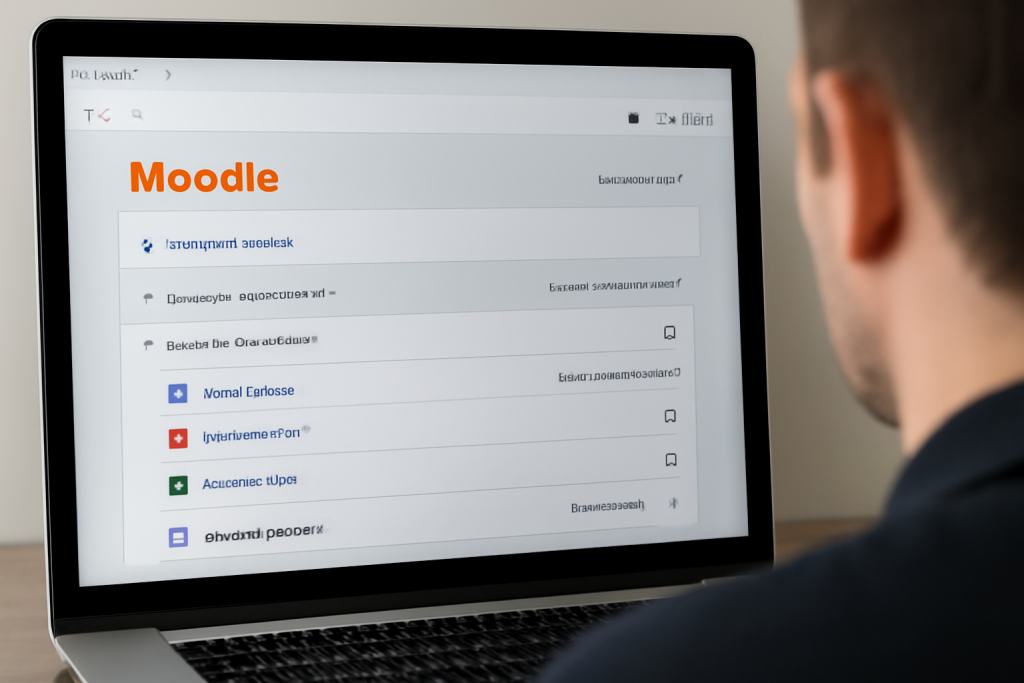
Setting up and managing course learning materials and resources in Moodle involves several steps. Moodle is a robust learning management system (LMS) that allows instructors to create, organize, and distribute materials to students in an efficient and user-friendly manner. Below are the steps to set up and manage course learning materials and resources in Moodle:
1. Access the Course as an Instructor
- Log into your Moodle site with your instructor credentials.
- Navigate to the course you want to manage or create a new course if needed.
2. Turn on Editing Mode
- Once you’re in your course, click on the “Turn editing on” button, typically found on the top right of the course page. This will allow you to edit the course and add resources.
3. Create Course Sections (Optional)
- Moodle courses are usually organized into sections (topics or weeks). You can structure the course by clicking on the “Add section” button and giving each section a name (e.g., “Week 1: Introduction” or “Topic 1: Fundamentals”).
4. Adding Resources to the Course
- In each section, you can add different types of resources and materials. Resources can be files, links, or pages, and activities can be quizzes, assignments, or forums. Here’s how to add them:
a) Adding Files
- Click on “Add an activity or resource” in the section where you want to add a resource.
- Choose “File” under the Resources tab.
- Upload a file (e.g., Word document, PDF, PowerPoint) by dragging and dropping it or using the file picker.
- Configure the file’s settings such as name, description, visibility, and whether students can download or view the file online.
b) Adding URLs (Links)
- Click on “Add an activity or resource” again.
- Select “URL” under Resources.
- In the settings, add the link’s name and the URL (web address) to external resources, such as an online reading material or website.
c) Adding Pages
- To create text-based content within the course, select “Page” from the Resources section.
- This allows you to add rich text, images, videos, and links all within the Moodle interface, ideal for notes or instructions.
d) Adding a Folder
- You can group multiple files together in a “Folder”.
- This is useful for organizing related documents, such as lecture notes for a particular week or topic. Simply upload several files into a folder and give it a name.
e) Adding a Label
- A Label allows you to add text, images, and other items that can serve as headers or separators within a section.
- For example, you could add a label like “Lecture Notes” or “Supplementary Reading” to divide materials logically within a section.
5. Organizing and Structuring Content
- You can reorder resources or activities by dragging and dropping them into the desired order.
- Use sections to break up the course into digestible parts (e.g., weekly content, topic areas).
6. Managing Resource Access
- You can manage when and how students access materials:
- Restrict Access: You can set conditions that students must meet before they can access certain materials, such as having a certain grade, completing a previous activity, or being enrolled in the course.
- Activity Completion Tracking: Turn on tracking to monitor when students view or interact with resources, which can be useful for course progression.
7. Managing User Permissions
- If you want to give students or teaching assistants different access levels, you can set permissions for each user or role in the course.
- You can control whether students can upload files, create materials, or even grade assignments.
8. Adding Activities (Optional)
In addition to resources, you might want to create activities for student engagement. These include:
- Assignments: Where students can submit their work.
- Quizzes: For testing students on the course material.
- Forums: For discussion and interaction.
- Glossaries, Wikis, and Databases: For collaborative learning.
To add an activity:
- Click “Add an activity or resource” and choose the desired activity type.
- Set the parameters such as timing, grading options, and group settings.
9. Preview and Test Course Materials
- Once you’ve added and organized materials, click on “Preview” or use Student view (available in the settings) to see how students will view the materials.
- Make sure everything looks good and works as expected.
10. Communication and Notifications
- Notify your students about new resources by using Moodle’s announcements forum or sending individual notifications for changes and updates.
11. Reviewing and Updating Resources
- You can always come back and make changes to the course resources. For example:
- Upload new materials.
- Edit descriptions or content.
- Update links or files.
12. Archiving and Backing Up Course Materials
- It’s always a good practice to back up your course, especially if you’re making major changes. You can export the course or download backup copies of the materials and activities.
Tips:
- Keep it Organized: Organize the course into logical sections and give clear titles to each section.
- File Management: Ensure files are named clearly (e.g., “Week 1_Lecture_Notes.pdf”) and avoid overloading a section with too many resources.
- Engagement: Use multimedia content (images, videos) to make your materials more engaging and diverse.
By following these steps, you’ll be able to set up and manage your course learning materials and resources efficiently in Moodle, providing an organized, accessible, and engaging learning experience for your students.