Setting up and managing course access restrictions in Moodle is an essential aspect of controlling who can view and interact with the course content. You can create access restrictions based on a range of criteria such as user profile fields, completion of other activities, date, grade, or group membership. Here’s a guide to help you set it up:
1. Login to Moodle
- Log in as an administrator or as a teacher with the necessary permissions.
2. Go to the Course
- Navigate to the course where you want to set up access restrictions.
- Click Turn editing on at the top right of the course page.
3. Set Access Restrictions for Activities and Resources
You can restrict access to individual activities (e.g., quizzes, assignments) or resources (e.g., files, URLs) within the course.
- Click on the activity/resource you want to set restrictions for.
- Click Edit settings.
- Scroll down to the Restrict access section.
- Click Add restriction to specify the conditions for access.
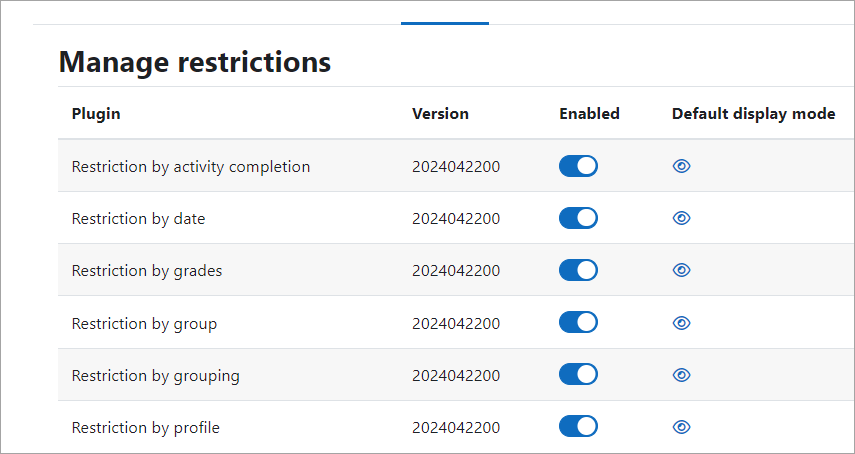
4. Types of Access Restrictions
You can add multiple restrictions depending on your needs. Below are the common types of restrictions available in Moodle:
- Date: Set start and/or end dates for access.
- For example, you can restrict access to a quiz until a certain date or prevent access after a specific date.
- Grade: Require that users must achieve a certain grade in one activity to access the next.
- For example, you can restrict access to a follow-up quiz based on a minimum grade in a previous one.
- User Profile Fields: Restrict access based on the user’s profile field, such as age, location, etc.
- Group: Restrict access to specific groups within the course.
- For example, restrict access to certain resources for students in a specific group.
- Completion: Require that users must complete a certain activity before they can access the next.
- For example, make an assignment or forum completion a prerequisite for accessing a new resource.
- User Completion: Restrict access based on a combination of the user’s progress and course completion criteria.
Once you choose the type of restriction, you’ll configure the specific conditions (e.g., setting dates, entering grade boundaries, choosing specific profile fields, etc.).
5. Set Multiple Restrictions
If you want to apply multiple restrictions to an activity or resource, you can combine them. After clicking “Add restriction,” you can continue to select additional restriction types, such as date and grade, and the activity will only be accessible if all conditions are met.
- You can set logical operators (AND/OR) between restrictions to fine-tune when users can access the content. For example, you may set it so that the user can access the activity only if they meet both the date condition AND the grade condition.
6. Conditional Access Settings for the Whole Course
If you want to restrict access to the entire course (rather than individual activities), follow these steps:
- Navigate to Course Administration > Edit Settings.
- Under Restrict access (available in some themes or versions), you can set conditions for the entire course, similar to the ones you use for activities.
7. Managing Course Access Based on Groups
If you have different groups within your course, you can restrict access to certain activities based on group membership.
- Create groups in Participants > Groups.
- Assign activities to groups by going to the activity/resource settings and under Restrict Access, choose Group and select the group(s) you want to give access to.
8. Managing and Reviewing Access
You can review which students have access to different parts of the course and what restrictions are in place.
- Reviewing Completion Tracking: If you have enabled Completion Tracking, you can go to Course Administration > Reports > Activity Completion to see a list of users and their progress. This can help in understanding who has met the access requirements.
- Check User Access: You can simulate a user’s view by using the “Switch role to…” feature (available in the admin menu). This allows you to see what a student can access based on the current restrictions.
9. Testing Access
After setting up access restrictions, it’s a good idea to test them to ensure they work as intended:
- Login as a student: Use the “Switch role to…” feature or create a test student account to ensure that the restrictions are applied correctly.
- Check from different devices: Test from a student’s perspective on different devices to ensure the user interface is displaying the right content based on the restrictions.
Key Tips:
- Overlapping restrictions: If you apply multiple restrictions, keep in mind the logical operators (AND/OR). All conditions combined must be true for access to be granted.
- Clear Communication: If you’re using restrictions based on completion, grade, or other criteria, inform your students about the prerequisites, so they are aware of what they need to do to gain access.
By effectively managing course access restrictions, you can create a more controlled and customized learning environment for your students.